The Art of Drywall Finishing
Mastering the technique of how to finish drywall is a valuable skill that not only enhances the appeal of your home but directly influences its market value. A flawlessly finished drywall conveys sophistication and attention to detail, signifying a well-maintained property. Conversely, a poorly executed job can draw attention to imperfections and diminish the overall aesthetic. As such, the urgency to educate oneself and perform the task correctly cannot be overstressed, as the implications extend far beyond mere appearance. With proper methods and a discerning eye for quality, homeowners can ensure their walls stand as a testament to their dedication to excellence.
For many, the prospect of drywall finishing invokes a mix of anticipation and unease, especially for those faced with the task for the first time. It’s a transformative process, where a set of bare panels evolves into smooth, paint-ready surfaces. At this juncture, many homeowners scour the web for reliable ‘how-to’ guides, keen to avoid the pitfalls associated with inexperience—such as bubbling tape or uneven textures. By harnessing Warwick’s ideal summer conditions and the wealth of professional insights, residents can confidently embark on this essential renovation journey. Indeed, equipping yourself with the know-how is the first stride towards flawless walls and an inviting living space.
An intimate understanding of the drywall finishing process is what sets seasoned experts apart from novices. Yet, this knowledge isn’t out of reach for the ambitious do-it-yourself enthusiast. Within this detailed guide, readers will discover the nuances and techniques that make all the difference. And while the appeal of do-it-yourself projects lies in the personal satisfaction they bring, learning from seasoned professionals ensures your efforts result in a polished and enduring finish. In the following sections, expect to uncover the secrets that will elevate your drywall finishing from satisfactory to exceptional.
Delving Deeper into Drywall Finishing Techniques
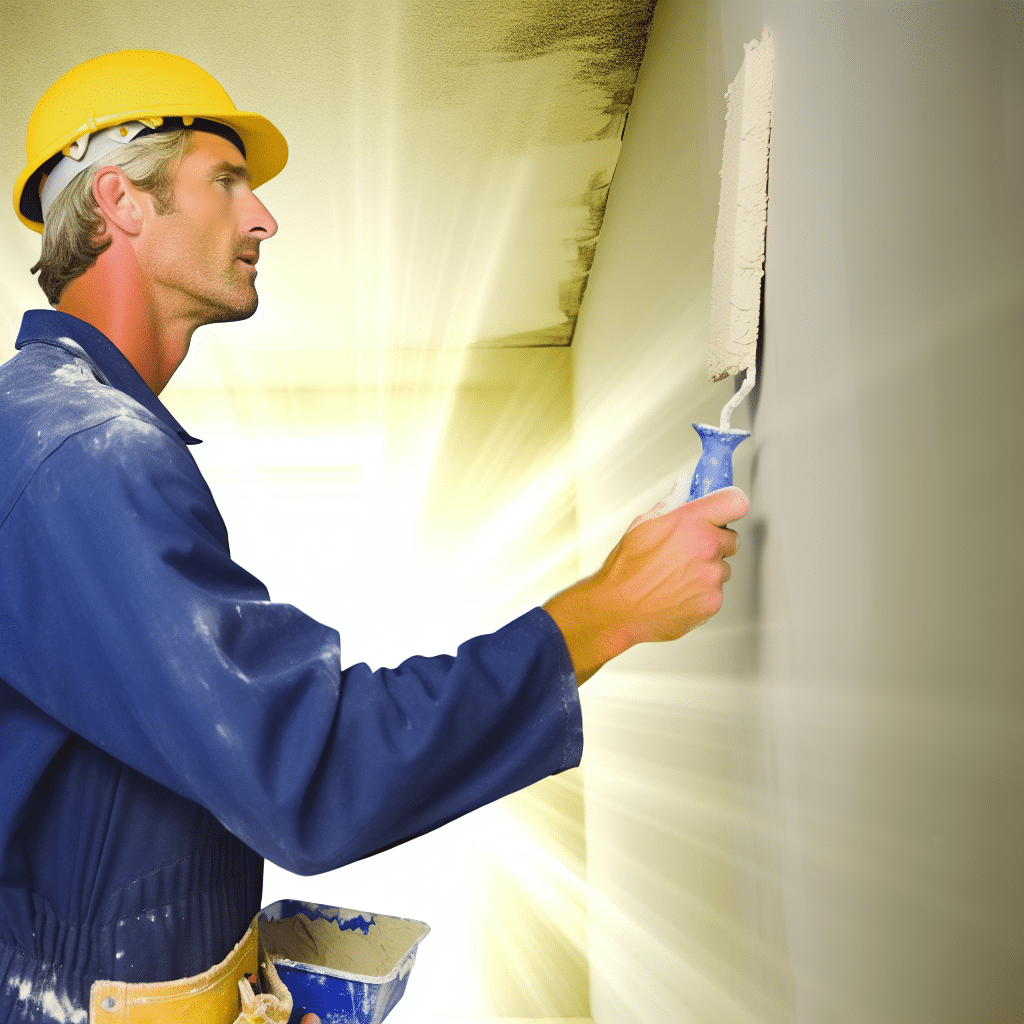
Achieving a flawless finish on drywall requires not only patience but also a methodical approach. Beginning with the initial coat of joint compound, commonly referred to as ‘mud’, one must apply it evenly and sparingly. The misconception that more mud leads to a better finish often leads to frustration and additional work. Instead, focus on smooth, even layers and allow each to dry thoroughly before subsequent applications. This systematic approach is fundamental to avoiding common issues such as cracking or visible seams.
Texture plays a pivotal role in the final appearance of your walls. Different techniques—whether you choose a subtle orange-peel or a more pronounced knock-down finish—can add character to a room. It’s here where experimentation is beneficial, using a spare piece of drywall to practice and perfect your chosen texture. Such practice enables a homeowner to approach the actual project with confidence, a steady hand, and an eye for the desired end result. Approaching this task with the mindset of an artisan will ensure your walls have a custom, professional-quality finish.
Perhaps one of the most undervalued steps in drywall finishing is sanding. It’s the bridge between the layers of mud applied and the paint that will define your walls’ aesthetics. A proper sanding job will make any imperfections virtually invisible and will pave the way for a stellar paint job. For this purpose, employing a sanding block or a fine-grit sandpaper can make all the difference in achieving those impeccably smooth walls. Rinaldi Roofing experts recommend always inspecting your sanding work under strong lighting to catch any missed spots or undesirable textures.
Final Touches for an Immaculate Drywall Finish
As we approach the culmination of our drywall journey, the importance of precision tape application becomes clear. This is not merely a step in the process – it’s a decisive factor for a seamless wall finish. When applying tape to the joints, overlap each section slightly to prevent future cracking, and press firmly to remove any bubbles underneath. This careful technique will result in a stronger, more uniform surface, laying the groundwork for your finishing touches. Always keep in mind, a wall’s integrity is only as robust as the foundation laid out by its tape.
The preparation for painting begins long before the first coat is applied. After thorough sanding, a final inspection under good lighting helps in spotting any additional touch-ups needed. Should you find minor imperfections, they can be corrected with a light application of joint compound followed by targeted sanding. This attention to detail ensures your walls are in excellent condition to receive paint, resulting in a professional, sleek appearance that serves as the backdrop of your home’s interior. For guidance on painting and wall treatments after drywall finishing, consider consulting with residential roofing experts.
In conclusion, the steps toward achieving a professional-quality drywall finish demand patience, attention to detail, and a willingness to learn from the experts. While this guide has armed you with essential tips and techniques, remember that practice makes perfect, and even the smallest aspect can have a big impact. As DIY enthusiasts, homeowners in Warwick now have the knowledge to transform their walls into smooth canvases ready for color and life. Trust in your newfound skills, take a deep breath, and begin the rewarding journey of drywall finishing. Your beautiful walls await.
Insights From The Experts
Tip 1:
For a smooth drywall finish, choose an all-purpose joint compound, applying thin layers and allowing adequate drying time between coats. Remember, the goal is to build up the surface for a seamless look without adding too much material at once.
Tip 2:
Achieving the perfect texture on drywall is an art—experiment with different tools like brushes, rollers, and sponges, and practice your technique on a spare piece of drywall to perfect your approach before applying it to your walls.
Tip 3:
When it comes to sanding drywall, use a fine-grit sandpaper or sanding sponge and work in a circular motion for a feathered, smooth finish. Be patient; rushing can create gouges and uneven surfaces that will show under the paint.
Tip 4:
Overlap your drywall tape by a half-inch to ensure a solid bond and to prevent cracks in the joints. It’s essential to press firmly to remove any air bubbles and ensure that the tape is fully embedded in the joint compound.
Tip 5:
After sanding, inspect your work carefully in good lighting to identify any imperfections or missed spots. Use a tack cloth to remove all dust before painting to prevent a rough texture. If any imperfections are found, apply a final touch-up coat of joint compound and sand again once dry.
Expert Answers to Your Drywall Finishing Questions
What is the best joint compound for a smooth drywall finish?
An all-purpose joint compound is versatile and ideal for most drywall projects, as it is designed to provide a smooth, crack-resistant finish suitable for both taping and final coats.
How do I achieve a seamless texture when finishing drywall?
Seamless texture can be achieved by using the right tools and techniques, such as employing a consistent application pattern with a drywall knife and lightly sanding between coats for an even surface.
What tools are necessary for proper drywall sanding?
Effective drywall sanding requires a sanding pole or block, fine-grit sandpaper or mesh, and possibly a hand sander or power sander for larger areas, ensuring a smooth, ready-to-paint finish.
How often should I overlap the drywall tape?
Drywall tape should be overlapped by at least a half-inch to prevent cracking and to maintain a consistent and strong bond throughout the joints.
Can I apply paint directly after sanding, or is there another step?
Before painting, ensure the drywall dust is completely wiped away with a tack cloth and apply a primer to help the paint adhere properly and improve the durability of the finish.


