Revamp Your Space with DIY Magic
Imagine waking up to a room that feels fresh and vibrant, with personalized touches that scream ‘you.’ That’s the kind of transformation DIY floating shelves can bring to your Kingston home. With a cluttered coffee table or a book-strewn desk, it sometimes feels like our possessions are taking over our lives. But there’s an easy, stylish fix that not only tidies up your space but also adds a chic flair to your decor. These practical shelves leverage the vertical dimension, turning empty wall space into functional, eye-catching displays.
Effortless Installation with a Big Impact
Why wait for a major renovation to spruce up your living space when a simple addition can change the game? Installing DIY floating shelves is like waving a magic wand over your room, instantly providing new areas to organize and showcase your most treasured items. It’s a project that doesn’t require you to be a seasoned craftsman or to spend your whole weekend buried in sawdust. In just a few hours, you can create a custom look that’s both sophisticated and functional, transforming that dull wall into a point of interest. And the best part? It’s an affordable upgrade – one that offers immediate gratification and a sense of accomplishment.
Addressing Common Concerns Up Front
Now, you might be wondering about the practical aspects, such as how much weight these shelves can hold. Rest assured, with the right materials and installation techniques, these shelves are as sturdy as they are stunning. Choosing strong anchors and securing them properly means your shelves can hold anything from books to plant pots. Not to mention, they provide a perfect stage for your favorite photographs, keepsakes, and decor pieces to truly personalize your space. With these concerns put to rest, you can embark on this project with confidence, ready to enjoy the utility and aesthetic appeal DIY floating shelves bring to your home.
Selecting the Right Material for Your Shelves
Choosing the proper material for your floating shelves is crucial for both aesthetics and endurance. Solid wood offers the classic warmth and sturdiness that homeowners cherish, while engineered options like MDF can provide a smooth, paintable surface at a more affordable cost. Think about the overall theme of your room – do you want a rustic, industrial, or modern look? Your choice of wood can subtly influence the ambiance of the space while ensuring your shelves stand up to the test of time. Remember, the material you select is the foundation of your project’s success.
Step-by-Step Installation Guide
The installation process can be straightforward if you come prepared. Begin by gathering all necessary tools – a drill, level, screws, and wall anchors are a must. Studs provide the most support, but when they aren’t available, high-quality anchors are your next best bet. A level is essential for ensuring your shelves aren’t just visually pleasing but also practical; after all, no one wants their belongings sliding off onto the floor. Take it slow, measure twice, and drill once to ensure your finished product is something you can be proud of.
Incorporating Shelves into Your Home Décor
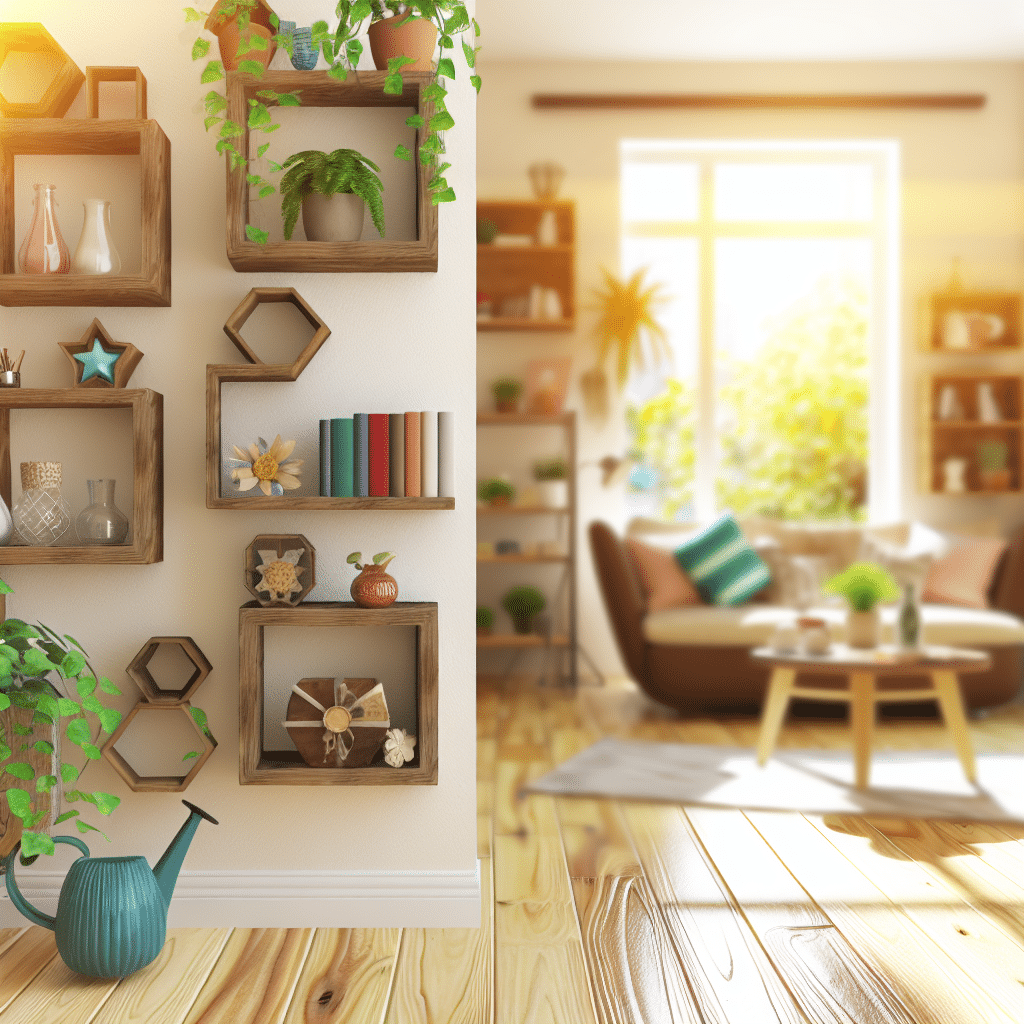
Floating shelves are more than just a place to store your items; they’re a design choice that can elevate your home’s style. Strategic placement can create a focal point or fill an unused nook with personality and charm. For those looking for inspiration or expert advice on making the most of their space, there are many resources available. Use your new shelves to display art, memories, and plants that reflect your unique taste. With the right décor, your floating shelves can transform an ordinary wall into a showcase of your life’s highlights.
Final Touches for Flawless Floating Shelves
Wrapping up your DIY floating shelf project brings a sense of pride and joy in your craftsmanship. The visual appeal of clean, uncluttered lines provides a sophisticated look that is both modern and timeless. Remember to step back and examine your work from different angles, ensuring every shelf is aligned and secure. This final overview is your opportunity to tweak placements or swap out decor items for that perfect curated appearance. Take a moment to appreciate your hard work – your home now has a personalized touch that is uniquely yours.
Aligning with Perfection
The importance of precision in shelf installation cannot be overstated. An uneven shelf is more than just an eyesore – it can be a safety hazard, especially if you plan to display heavier items. Using a spirit level can ensure your shelves are perfectly horizontal, providing peace of mind that your decorations will stay in place. Patience is key here; adjusting as you go can save time and frustration later on. By carefully leveling each shelf, you’re cementing the professional quality of your project, enhancing both form and function.
Trusting in Your DIY Skills
Once your shelves are up and adorned with your choices of decor, you’ll see how they open up the room, often making it appear larger and more welcoming. It’s amazing how such a simple change can breathe new life into a space. If you’re looking to take on more ambitious home improvement projects, expert guidance is available to take your DIY capabilities to the next level. Homeowners often find that once they start DIY projects like floating shelves, the possibilities become endless. So, trust in your newfound skills and look forward to the many more projects that now seem within reach.
Insights From The Experts
Tip 1:
Choose the right materials for longevity and aesthetics. Solid wood can provide both the strength for heavier items and a touch of elegance for your Kingston home’s decor.
Tip 2:
Understand the weight capacity before you start. Using proper anchors and making sure to mount onto studs are a must for ensuring your shelves stay secure and functional.
Tip 3:
Opt for invisible brackets for a sleek look. These create the illusion of ‘floating’ and make installation cleaner, aligning with minimalistic and modern interior trends.
Tip 4:
Leveling is key for functionality and appearance. Use a reliable spirit level when installing to avoid uneven shelves that could lead to slippage or visual imbalance in the room.
Tip 5:
Incorporate a seamless design by painting the shelves the same color as the walls. This can expand a room visually and highlight the items displayed on the shelves as opposed to the shelves themselves.
Your Floating Shelf Queries Answered
How Much Weight Can DIY Floating Shelves Hold?
The weight capacity depends on the materials used and mounting method; solid wood with stud mounting can typically support up to 20-30 pounds per linear foot.
What Are the Best Materials for Creating Floating Shelves at Home?
For durability and a high-end look, hardwoods like oak or walnut are excellent choices, while MDF can be used for a cost-effective yet smooth-finish option.
Can Floating Shelves Be Installed Without Drilling?
Yes, there are no-drill options using adhesive mounting strips, but they are best for very light objects and not recommended for valuable or heavy items.
What Are the Must-Have Tools for Installing Shelves?
You’ll need a drill, level, tape measure, screws, anchors suitable for your wall type, and potentially a stud finder for the best support.
How Do You Ensure Floating Shelves Are Perfectly Level During Installation?
Use a reliable spirit level and measure multiple points from the floor or ceiling to cross-check the horizontal alignment before finalizing the placement.


