Transform Your Kitchen with a Fresh Coat of Paint
Revamping your kitchen doesn’t require a full renovation; sometimes, all it takes is a fresh coat of paint on the cabinets to breathe new life into your space. As the warm sun graces Providence, RI, homeowners are looking for ways to invigorate their homes without breaking the bank. Painting your kitchen cabinets can be the cost-effective solution that not only transforms but significantly boosts the ambience of your culinary haven. It’s a trend that’s gaining momentum, with more and more residents opting for this impactful yet straightforward upgrade. The rush of satisfaction that comes with a beautifully executed DIY project can be the highlight of your summer.
The thought of brushing vivid life on dreary cabinets may seem daunting at first, but with proper guidance, it turns into an enjoyable journey. The key to success lies in understanding the process and tools needed for a stunning finish. A carefully painted cabinet is not just about appealing aesthetics; it’s an investment that can enhance your home’s market value. This introductory guide promises to demystify the steps, ensuring that by the end, your newly painted cabinets become a testament to both your effort and your home’s charm. So, let’s delve into the world of paint, brushes, and a little bit of elbow grease to transform your kitchen.
What we aim to deliver in the ensuing discussion is a comprehensive approach to how to paint kitchen cabinets effectively. Our walkthrough will cover everything from material selection to the intricacies of application, all tailored to empower you to make a statement with your cabinets. Anticipating your eagerness, we’ve lined up actionable insights designed to facilitate a smooth and successful painting experience. Prepare yourself to uncover the secrets that will elevate your kitchen from commonplace to extraordinary with just a few strokes of a brush.
Choosing the Right Paint and Preparing Your Cabinets
The first step in any kitchen cabinet makeover is selecting the right type of paint. Acrylic latex-based paints are a favorite in the DIY community for their tough, easy-to-clean finish that can stand up to the test of kitchen wear-and-tear. You’ll want a product that resists the inevitable spills and splatters, while also allowing you to easily wipe away any messes. The finish—whether you go for gloss, semi-gloss, or satin—will also play a crucial role in the longevity and look of your cabinets. Remember, a quality paint ensures your cabinets remain a centerpiece in your kitchen for years to come.
Once you’ve chosen your paint, it’s crucial to prepare your cabinets for their transformation. A thorough cleansing to remove grease and grime, followed by a light sanding, creates the perfect canvas for your paint. This process not only ensures better paint adhesion but also helps achieve that smooth, professional-looking finish. Skipping prep work may save time initially but can lead to chips and peeling down the line, so patience here is key. Invest time in preparing your cabinets, and the results will speak for themselves.
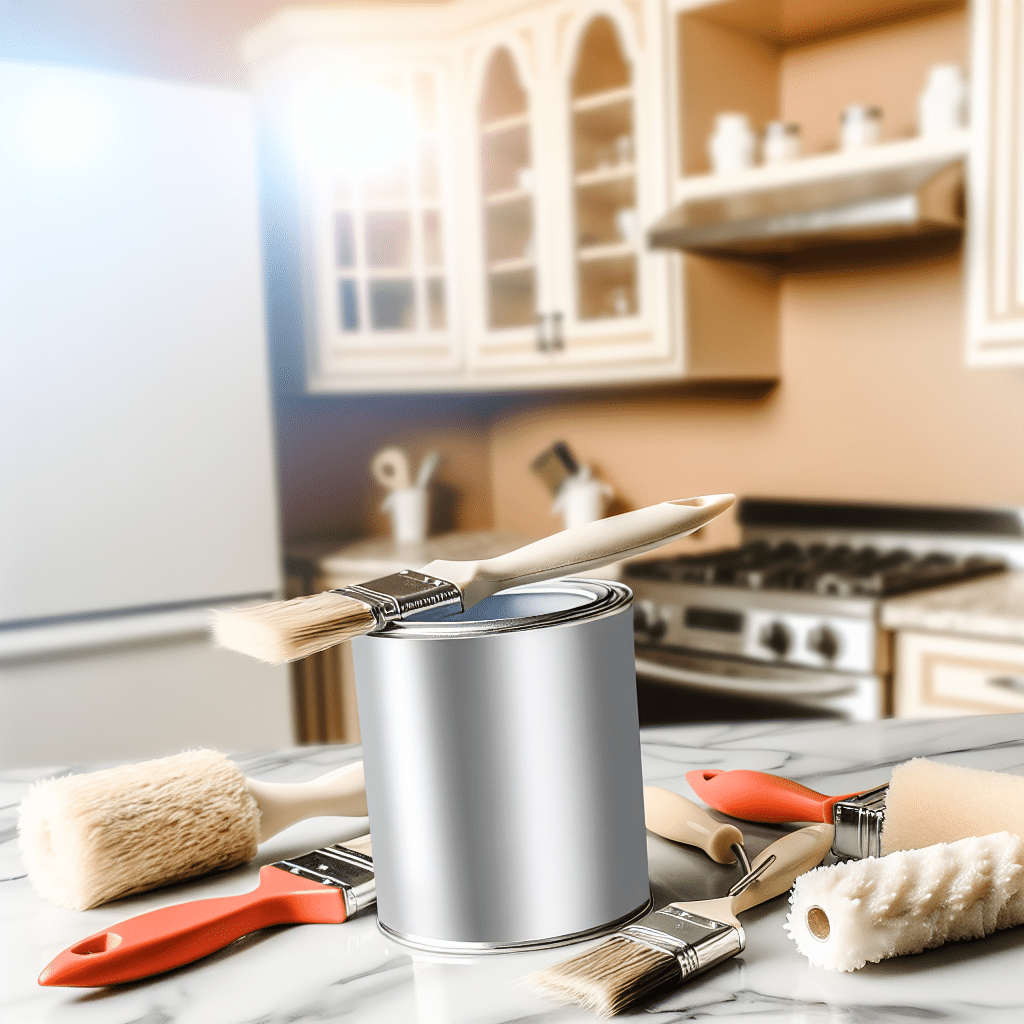
Now that your surfaces are primed and ready, it’s time to approach the actual painting with precision and care. Employing the right technique will make all the difference between a mediocre outcome and one that screams professional craftsmanship. It’s essential to apply paint evenly, maintain a wet edge to avoid lap marks, and use the right brushes and rollers for a flawless finish. If you need further guidance or inspiration, consider exploring your local experts’ advice. With these tips in mind, you’re well on your way to creating a striking visual statement in your kitchen.
Advanced Techniques for a Smooth Finish
Tackling the actual painting of your kitchen cabinets calls for a deliberate approach. Start by disassembling the doors and drawers from the frames; this strategy allows for easier handling and helps avoid drips or uneven coating. Apply a primer designed for cabinetry as a base layer to ensure the true color of the paint shines through. This foundation is especially crucial if you’re transitioning from dark to light shades or vice versa. Priming may seem like an additional step, but it’s a golden rule in achieving a long-lasting and vibrant finish.
When applying your chosen paint, be mindful of the environment; factors such as humidity and temperature can affect drying times and paint behavior. Work methodically in sections to maintain consistency throughout the application process. It’s worth taking the extra time to apply multiple thin coats rather than one thick layer, preventing drips and promoting a smoother finish. Remember to let each coat dry thoroughly before adding the next, which can be tough in the anticipation of seeing your refreshed cabinets but believe that the outcomes of patience are worthwhile.
You might question if it’s possible to achieve those silky-smooth results without professional equipment. The answer is a resounding yes! High-quality brushes and rollers are the secret to avoiding unwanted textural artifacts like brush strokes or “orange peel”. When finishing up, don’t hesitate to put in the fine details with a small artist’s brush. It’s these meticulous details that elevate your work, and when a friend or family member marvels at the finished product, you can proudly say it was all done by hand.
Wrapping Up Your Kitchen Cabinet Makeover
As you near the completion of your kitchen cabinet painting project, it’s important to focus on the finishing touches that define a job well done. After your final coat has fully dried, reassemble the hardware and admire the transformation. This might also be a perfect time to upgrade knobs or pulls, adding a modern twist or classic elegance to your cabinets. Consider the exciting impact that the right hardware can have on your new cabinet colors. It’s these small details that can amplify the sophistication and cohesive look of your kitchen.
Another key aspect to keep in mind is the maintenance of your newly painted cabinets. While the type of paint used can affect the resilience, all cabinets benefit from regular cleaning with non-abrasive solutions that can keep them looking fresh and new. Be mindful of the wear and tear typical in a kitchen environment and touch up when necessary. With proper care, your handiwork can be preserved for years, making this DIY project not just a transformation but a lasting enhancement to your home.
In conclusion, the journey of painting your kitchen cabinets can be as rewarding as it is transformative. By following these guidelines, your kitchen can flaunt a professional-quality upgrade – and the most gratifying part is that it was achieved with your own two hands. If your newfound interest in home improvement has been ignited, why not consider taking on another project? For those already looking to their next home transformation, decking solutions might just be the perfect endeavor. There’s no end to the satisfaction that comes with the continuous improvement and personalization of your living space.
Expert Cabinet Painting Insights
Tip 1:
Choose a paint that’s formulated for cabinetry for best results – these paints are tougher and more durable, standing up to frequent cleaning and resisting peeling or staining.
Tip 2:
Don’t rush the curing process. Even though paint may feel dry to the touch after a day, it can take up to 30 days to fully cure, so handle freshly painted cabinets with care.
Tip 3:
Invest in high-quality brushes and rollers. This will ensure a smoother finish and reduce the risk of brush marks, which can detract from the overall look.
Tip 4:
Before painting, thoroughly clean and sand cabinets. Any grease or residue can prevent the paint from adhering properly, leading to lackluster results.
Tip 5:
Consider the lighting in your kitchen when selecting a paint color. Natural and artificial lighting can drastically affect how the color appears in your space.
Your Cabinet Painting Questions Answered
What is the best type of paint to use for kitchen cabinets?
The preferred choice for kitchen cabinets is acrylic latex-based paint due to its durability and easy maintenance. It provides a tough finish that can withstand kitchen environments and frequent cleaning.
How long does it typically take to paint kitchen cabinets?
The entire process of painting kitchen cabinets, including prep work, priming, painting, and drying, generally takes 3-5 days, depending on the size of the kitchen and the number of cabinets.
Can I paint my kitchen cabinets without sanding them first?
Sanding is a crucial preparation step to ensure the paint adheres properly and offers a smooth finish; skipping it can lead to subpar results and paint that may peel or chip over time.
What are the latest color trends for painted kitchen cabinets?
Current trends lean towards a palette of soothing neutrals, deep blues, and greens, but vibrant colors like yellow and orange are also becoming popular for adding a punch of personality.
Are there specific techniques for painting to ensure a smooth finish?
Yes, using high-quality brushes and rollers, applying multiple thin coats instead of one thick coat, and keeping a wet edge to prevent lap marks are key techniques for a smooth, professional finish.


