Imagine waking up to the howling winds of a severe storm and discovering that your roof has been compromised. In the small window you have before the damage worsens, knowing how to respond with emergency roof tarping could save your home from further harm. The reality is that roofs in Warwick are particularly vulnerable during the tumultuous weather of fall, and the right actions could mean the difference between a quick fix and extensive, costly repairs. This is the moment when time is of the essence and every minute counts. Acting fast not only preserves the integrity of your home but also ensures the safety and wellbeing of your family.
The risks tied to a damaged roof go beyond just the initial impact; water intrusion can quickly lead to mold growth and structural decay. When a storm wreaks havoc on your home, laying a protective tarp over the damaged area is a critical move to prevent further damage. It’s not just about patching up a visible issue—it’s about safeguarding the hidden areas of your home from unseen complications. In these situations, a robust emergency response plan is more than just a good idea—it’s a homeowner’s first line of defense. By understanding the immediate steps to take, such as securing a weather-resistant tarp, homeowners can maintain a semblance of normalcy amidst the chaos.
Yet, even with the knowledge of what needs to be done, many may wonder about the best way to handle such emergencies. Where does one begin when the clock is ticking, and the safety of one’s home hangs in the balance? Here’s where expertise and preparation intersect to create a beacon of hope. Warwick residents can take heart in knowing that temporary solutions like roof tarping are not just available, but also effective when done correctly. This proactive approach doesn’t just resolve the present issue—it equips you with the confidence and know-how for any future roofing surprises.
The Essentials of Tarp Installation
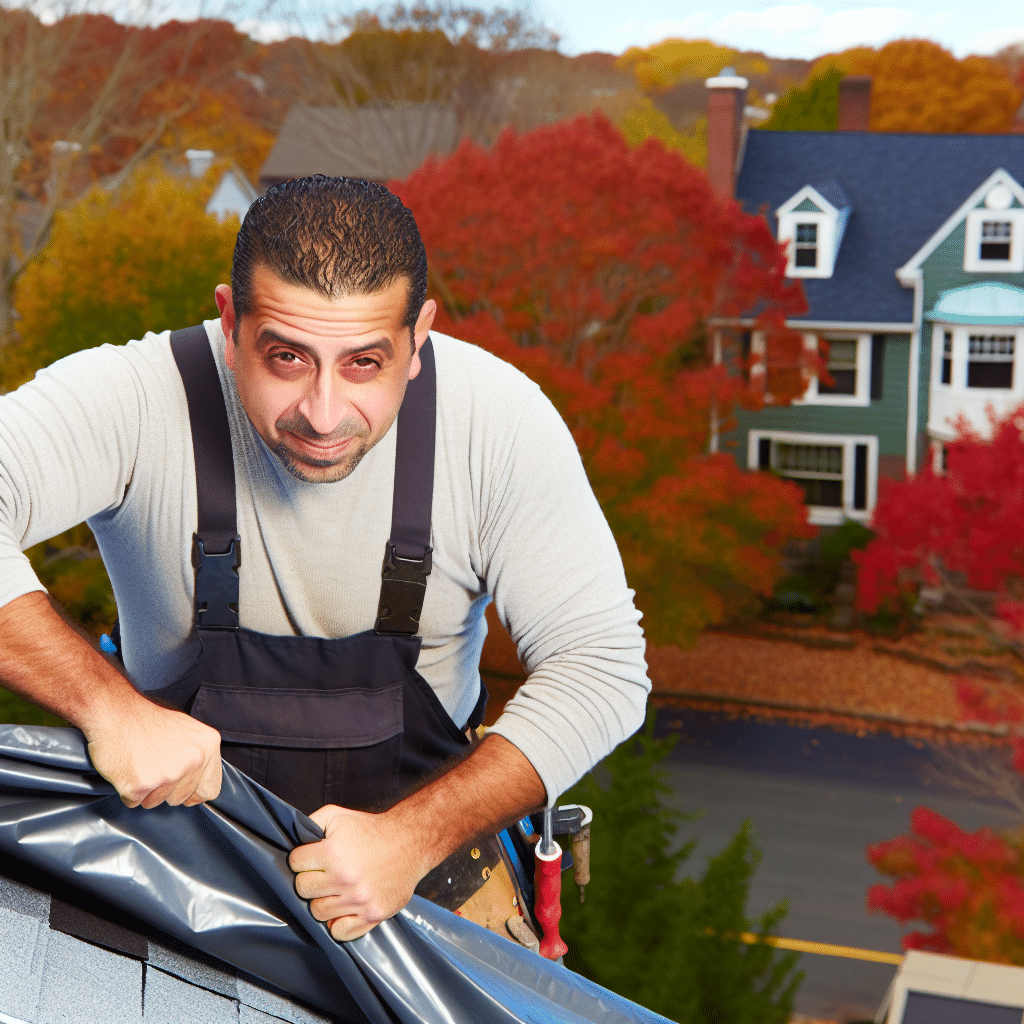
Emergency situations demand a step-by-step approach, ensuring that each action taken contributes to the home’s safety rather than further complications. The first step is to assess the roof damage from the ground without risking personal safety, determining the size and the extent of the damaged area. Once the assessment is complete, it’s crucial to select a tarp that’s adequately large to cover the damaged section and extend over the roof’s peak, which facilitates proper water runoff. Using boards to secure the tarp edges under the shingles, and nailing them firmly into place, can prevent the tarp from catching wind and becoming a sail. Strong, sturdy securing points are foundational to a tarp’s effectiveness, so no corners can be cut when protecting your most important investment.
A properly installed tarp can serve as a reliable barrier against the elements for months at a time, provided that the material is durable and the installation is sound. Though this is a temporary solution, it should not be thought of as a shortcut or a patch to be taken lightly. The tarp must cover the damaged area completely, drape over the roof edges, and be secured at various points to withstand winds and weather. Proper installation means anchoring the tarp both horizontally and vertically to distribute tension evenly, avoiding any pooling of water which can cause further strain on an already vulnerable roof. Making sure there are no gaps or loose areas ensures your tarp will hold up until permanent repairs are made.
Understanding your insurance coverage can be as critical as installing a tarp itself, as proper documentation is often key to claim approval. Homeowner insurance typically views emergency roof tarping as a necessary immediate action to mitigate damage, but knowing your specific policy details can save a lot of heartache. Keeping photos of the damage before and after tarping can serve as valuable evidence when filing a claim. Knowing the process of what to document, and keeping a record of all related expenses, can streamline the claim process. If you’re unsure about this process, consider reaching out to trusted roofing professionals like those at Rinaldi Roofing for guidance.
Wrapping Up: Lasting Solutions and Peace of Mind
When the winds calm and the skies clear, the relief that immediate action has prevented further damage can be immense. Yet, the journey from emergency response to restoration is not complete without considering the lasting solutions that will protect your home for years to come. As Warwick residents reflect on the recent weather events, prioritizing a comprehensive roof inspection to uncover any hidden damages is a smart move. Permanent repairs by qualified professionals not only restore the integrity of the roof but also enhance its resilience against future storms. It’s the knowledge that these expertly executed restorations can withstand the tests of time and nature that brings true peace of mind.
The empathy residents feel towards their neighbors experiencing similar plights reflects the community’s strength and resilience. In these moments, sharing resources and information becomes invaluable, creating a network of support that extends beyond individual experiences. It’s in these connections that homeowners find recommendations for services they can trust, like Rinaldi Roofing, known for their expertise in both emergency responses and permanent repair solutions. Community forums, local networks, and word-of-mouth often guide those in need to reputable companies that stand out in times of crisis. The value of such communal wisdom cannot be overstated—it is the bedrock of collective security and individual assurance.
As we consider the importance of emergency roof tarping, let us not forget the powerful adage that prevention is better than cure. The practices and precautions discussed in the wake of a crisis often lead to long-term strategies that fortify homes against the unpredictable. Moreover, cultivating a relationship with a trusted roofing company before disaster strikes is an investment in the future safety of one’s home, underscoring the need to be proactive rather than reactive. In the end, the strength of a community’s response to emergencies is not just in its speed, but also in its foresight, preparation, and the unyielding willingness of its people to look out for one another.
Insights From The Experts
Tip 1:
Start the tarping process as soon as possible after damage to prevent water from seeping in and causing more issues. Delay can result in mold, which can be hazardous to your health and more costly to repair.
Tip 2:
When tarping your roof, ensure the tarp extends over the roof ridge to the opposite side, providing adequate runoff for water. Securing the tarp tightly will prevent wind lift and further damage during storms.
Tip 3:
Always prioritize safety; if you’re unsure about tarping your roof yourself, especially in hazardous weather conditions, contact professional roofers. Experts come equipped with the right tools and safety equipment to get the job done without risks.
Tip 4:
Check if your home insurance policy covers emergency tarping as some providers can cover the costs as part of temporary repairs following a natural disaster. Keep documentation of the damage and repairs for insurance purposes.
Tip 5:
Regular inspections of the temporary tarping can save you from unexpected surprises. Look for signs of wear and tear, especially after harsh weather, to decide if the tarp needs adjustment or replacement.
Expert Answers to Your Roof Tarping Questions
How quickly should I get a tarp on my roof after damage occurs?
Ideally, you should install a tarp on your damaged roof as quickly as possible, usually within 24 hours, to prevent any further damage from the elements.
What are the steps for installing a roof tarp to ensure it’s secure?
Secure installation involves laying the tarp flat over the affected area, ensuring it overlaps the ridge of the roof, and then fastening it down with 2x4s to keep it in place even through high winds.
Can I install an emergency roof tarp by myself, or should I call professionals?
While it is possible to install a roof tarp by yourself, it is safer and more reliable to call professionals, especially in situations where the roof may be unstable or inclimate weather persists.
How long can I expect an emergency roof tarp to last before needing repairs?
A well-installed emergency roof tarp can last several months, but it’s important to inspect it regularly and plan for permanent repairs as soon as feasible.
Does emergency roof tarping affect my chances of getting insurance coverage for roof repairs?
Emergency roof tarping is typically viewed by insurance companies as a preventative measure, which can be beneficial in claims for roof repair coverage if conducted timely and documented properly.


